This project did take some time but I think it was well worth it and the finished products look great on the walls!
I got this brilliant idea from a pin on Pinterest found here:
http://jamiebrock.hubpages.com/hub/Clever-Crafts-Using-Toilet-Paper-Rolls
How to make your own toilet paper roll wall art:
What you will need... Toilet paper or paper towel rolls, scissors, ruler, clothes pins, tacky glue, and spray paint.
Step 1:
Flatten your toilet paper roll with your hand.

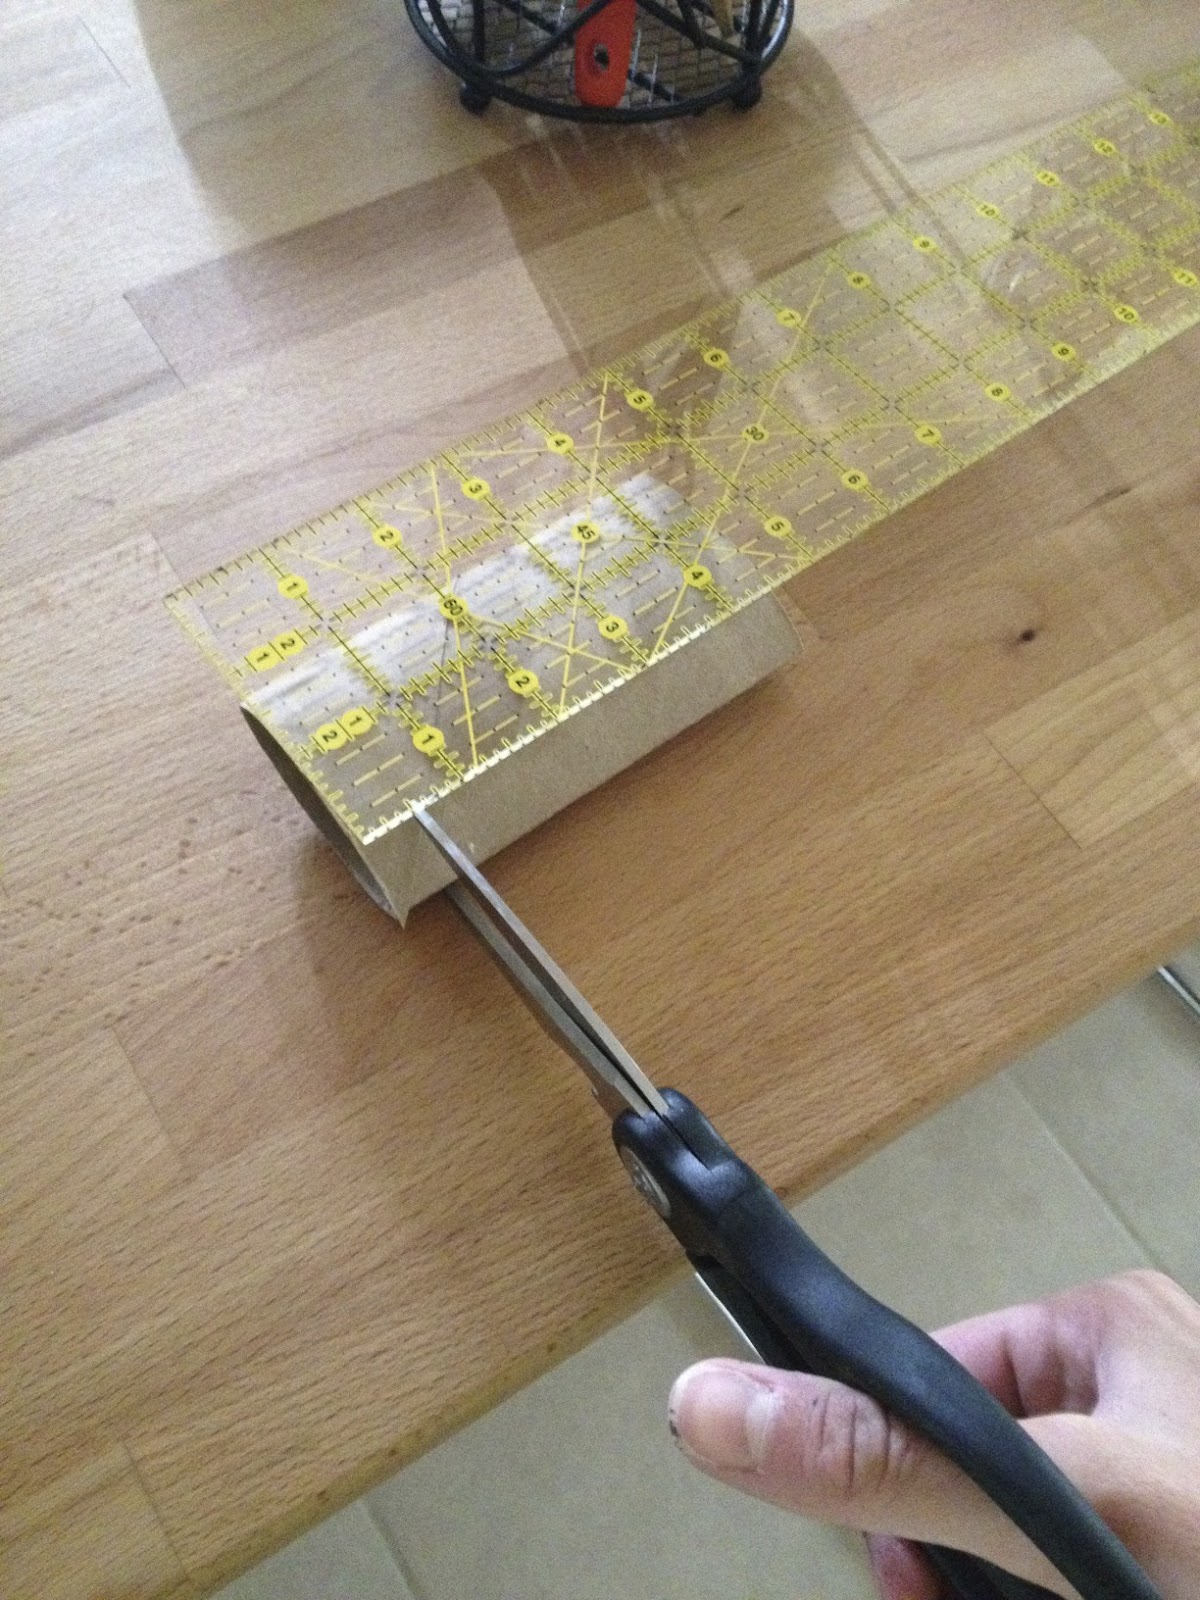
Step 2:
Mark with a pen and a ruler at every 1/2'' all the way down the roll, then cut roll at each mark.
Step 3:
Be creative!!! This is the time to plan your design. Play around with all of your pieces to see what neat patterns and shapes you can make. When you have decided on a pattern snap a picture of it just in case you have to stop before you finish.
Step 4:
Now you take two pieces and put glue toward the end on one, then stick the second piece on the glue. Use a clothes pin to pin the two together to help the glue set. Let dry, then continue with the rest.


Step 5:
When you have completed gluing your design together and it has completely dried spray paint it what ever color you have chosen and hang it. You are finished!!!
Below are my two finished projects.


Happy Crafting and don't forget to share your creations!!!
~ Miss Kasie ~